Polito
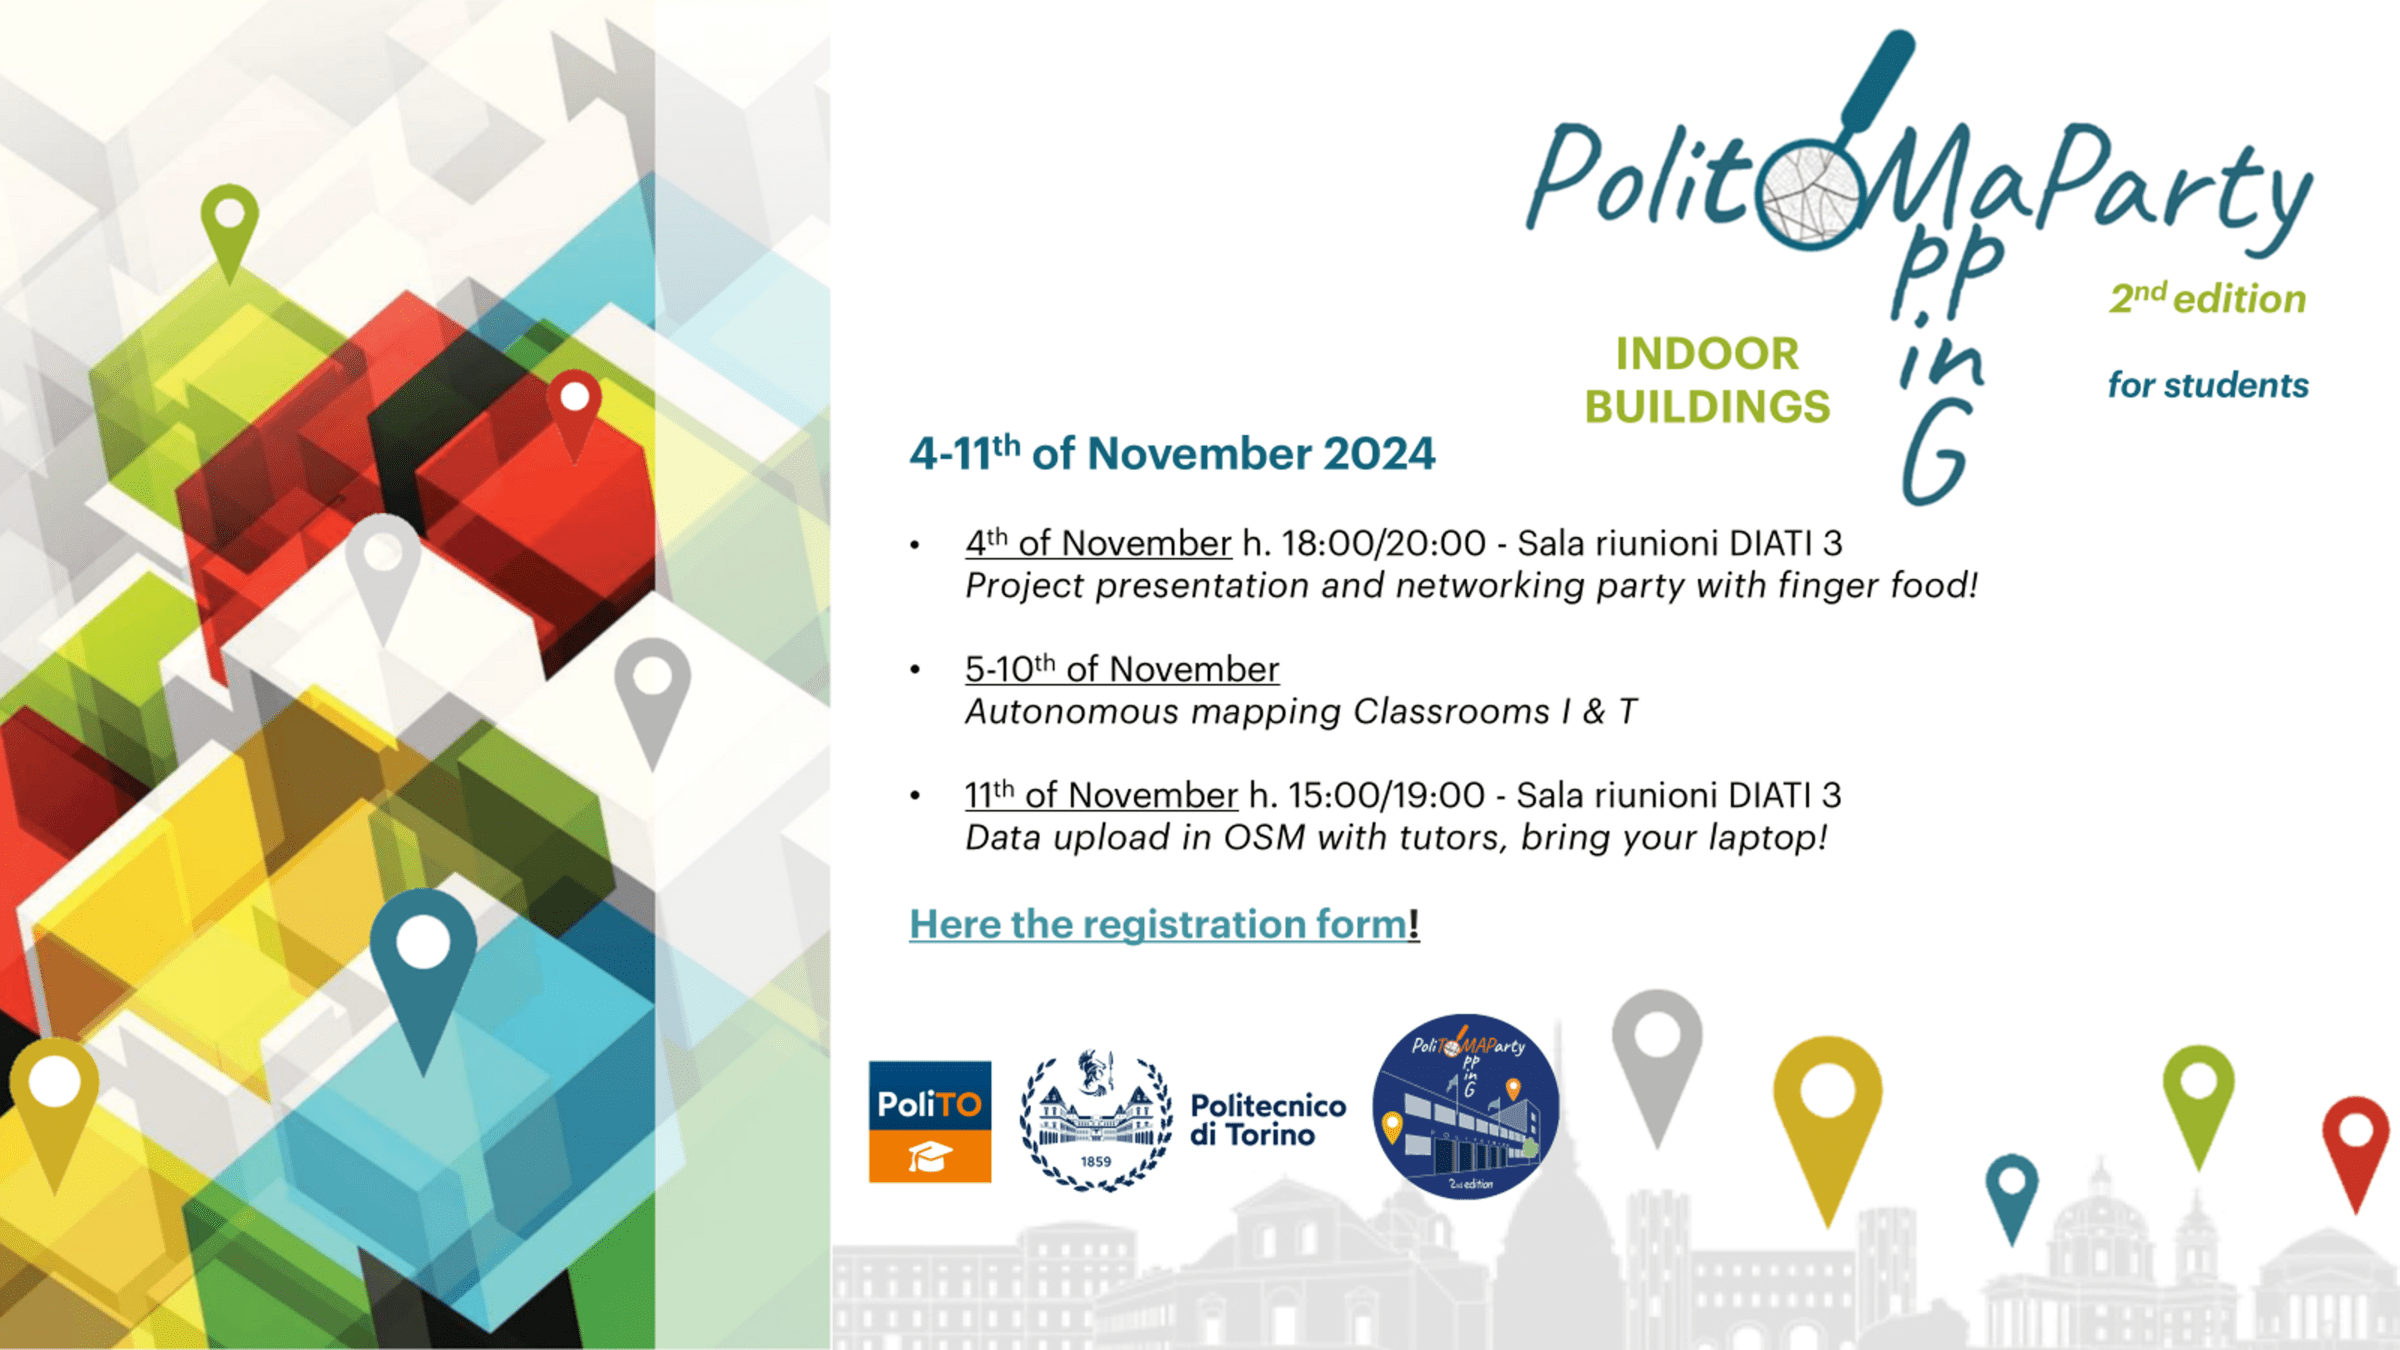
Mapping Party
2nd edition

INDOOR BUILDINGS
Our Team
Elisabetta Colucci
Assistant professor, DAD - Department of Architecture&Design
elisabetta.colucci@polito.it
Emere Arco
Assistant professor, DIST - Interuniversity Department of Regional and Urban Studies and Planning
emere.arco@polito.it
Alessandra Spreafico
Fellowship researcher, DAD - Department of Architecture&Design
alessandra.spreafico@polito.it
Nives Grasso
PhD, Ing. Technician of the Laboratory of Photogrammetry, Geomatics and GIS, DIATI - Department of Environment, Land and Infrastructure Engineering
nives.grasso@polito.it


Our Team

Marco Piras
Full professor in geomatics, DIATI
Andrea Ajmar
Associate professor in geomatics, DIST
Paolo Dabove
Full professor in geomatics, DIATI


Our Team
Alessandra Spadaro
PhD Student in Civil and Environmental Engineering, 38th cycle
Beatrice Tanduo
PhD Student in Architectural and Landscape Heritage, 38th cycle
Sebastiano Anselmo
PhD Student in Urban And Regional Development , 38th cycle


Our Team
Supported by
- PROGES Department - Building Heritage, Management, Design and Construction and Workplace Safety, Gregorio Cangialosi
- CLIK (Connection Lab & Innovation Kitchen)
- Fulvio Corno, Full Professor - Department of Control and Computer Engineering (DAUIN), Vice Rector for Education
With the collaboration of
Cristina Ferrian & Federico Cucinella
Mapping Party goal
Map of the interior
of the Politecnico di Torino
to improve
the existing new POLITO map,
available in the POLITO student APP
Mapping Party goal
Data collection phase
Autonomous collection of the data during this week
Use the printed floor plans
of the Classrooms I and T
of the Politecnico di Torino
to note:
- indoor element positions and attributes
- outdoor point elements
Data collection phase
Autonomous collection of the data during this week
Classrooms I -> GROUPS 2, 4, 5
Classrooms T -> GROUPS 1, 3
BOTH GROUND FLOOR &
-1 FLOOR
Data upload phase
During meeting of the 11 November we will upload all your data together
We will use OsmInEdit editor, a specific web editor focused on indoor mapping
ID Editor indeed missing of:
- function to filter data by level
- Simple Indoor Tagging presets
- indoor specific validation rules
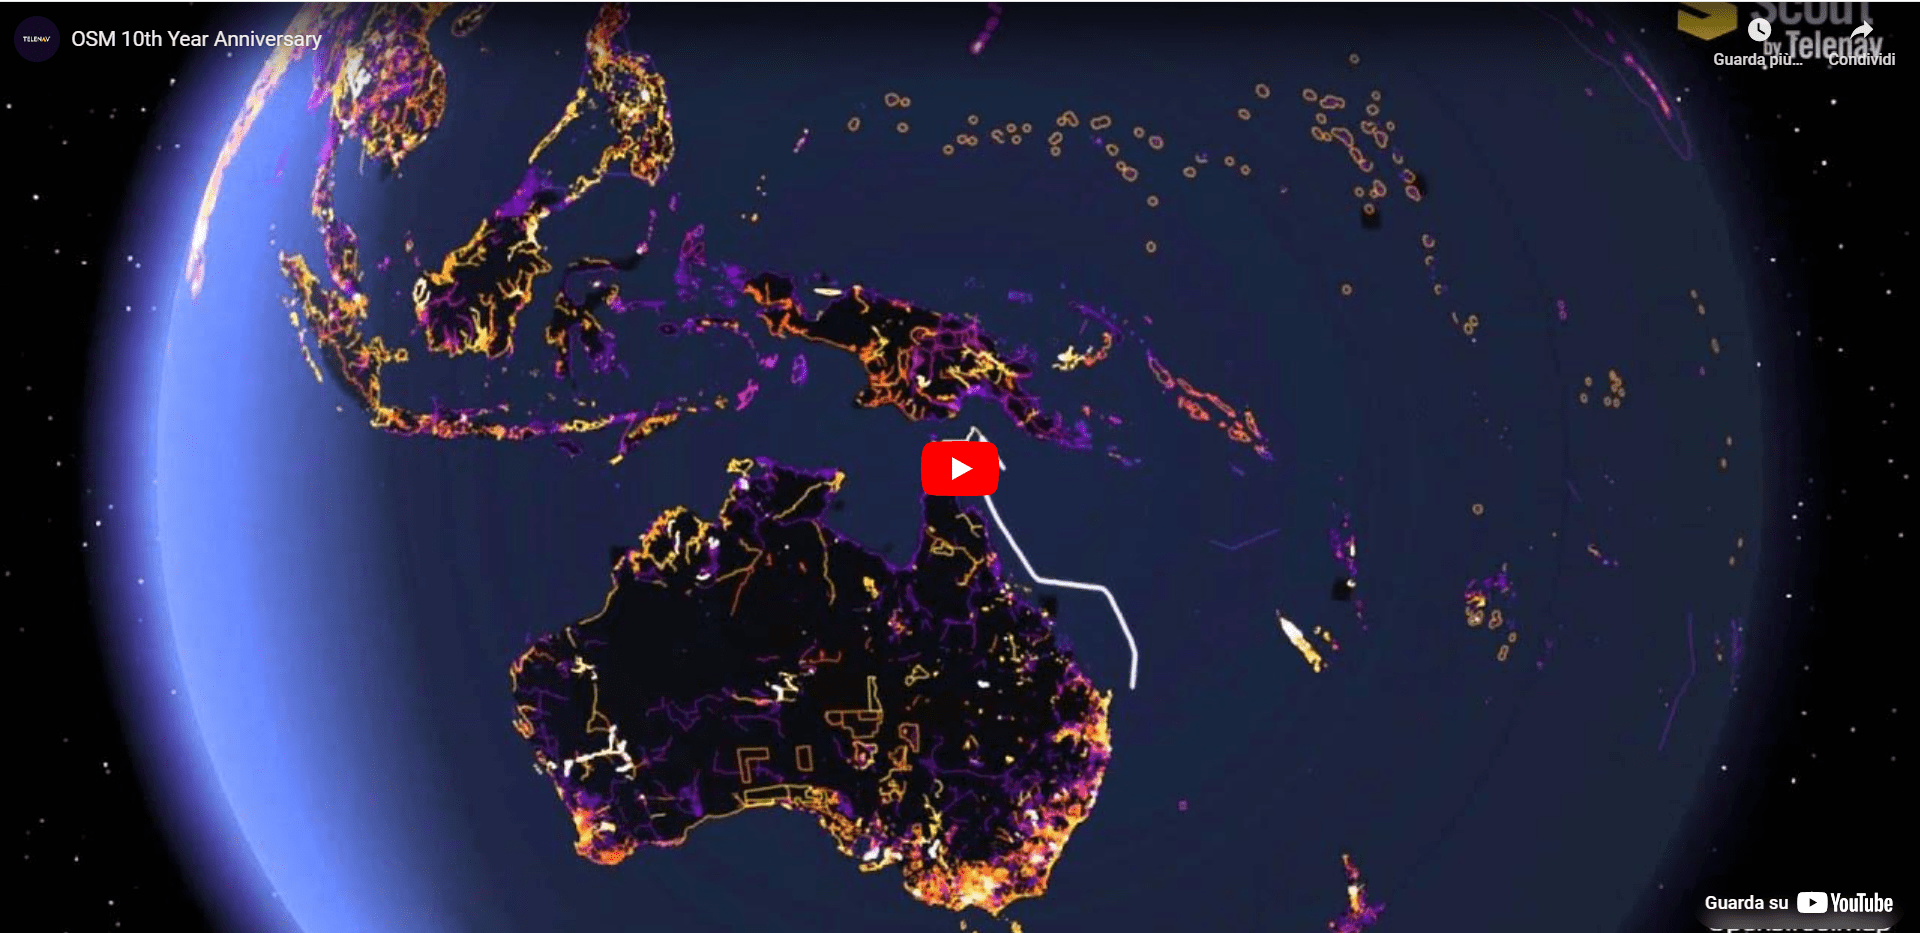
OpenStreetMap
Database of geographical data
The Wikipedia of maps
open and free
Data VS Maps
A bit of history...
Project designed by Steve Coast in 2004
Spatial data created and controlled
by private actors and governmental bodies
Expensive for their creators and their users
Restrictive on redistribution terms
Difficult to keep up-to-date
A bit of history...
Geographical data created and maintained
by the community
in a voluntary and collaborative approach
(Wikipedia model)
Everyone can contribute!
Distributed under a free license
Updated in real time
A bit of history...
Why OpenStreetMap?
Data created by
public institutions:
- rare updates
- sometimes with fees
Why OpenStreetMap?
Data created by
private companies:
- regular updates
- high costs
Why OpenStreetMap?
Data created by
private companies:
- restricted usages
Why OpenStreetMap?
Data created by
private companies:
- restricted usages
Why OpenStreetMap?
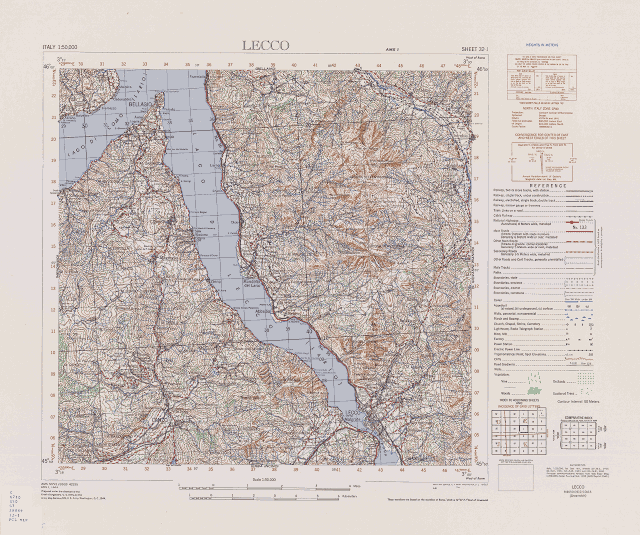
Maps,
and the geographic data on which they are based,
are always only a
representation
of the real world

By René Magritte(1898-1967) - Image taken from a University of Alabama site, "Approaches to Modernism": [1], Fair use (Old-50), https://en.wikipedia.org/w/index.php?curid=555365
Why OpenStreetMap?
Relying on a single (and private)
map source
means being dependent
on what the map owner
decides to display or not
Why OpenStreetMap?
A collaborative map allows
for a "debated/concerted" view
that is the result of different voices
Mapping is a community activity!
The community
The community
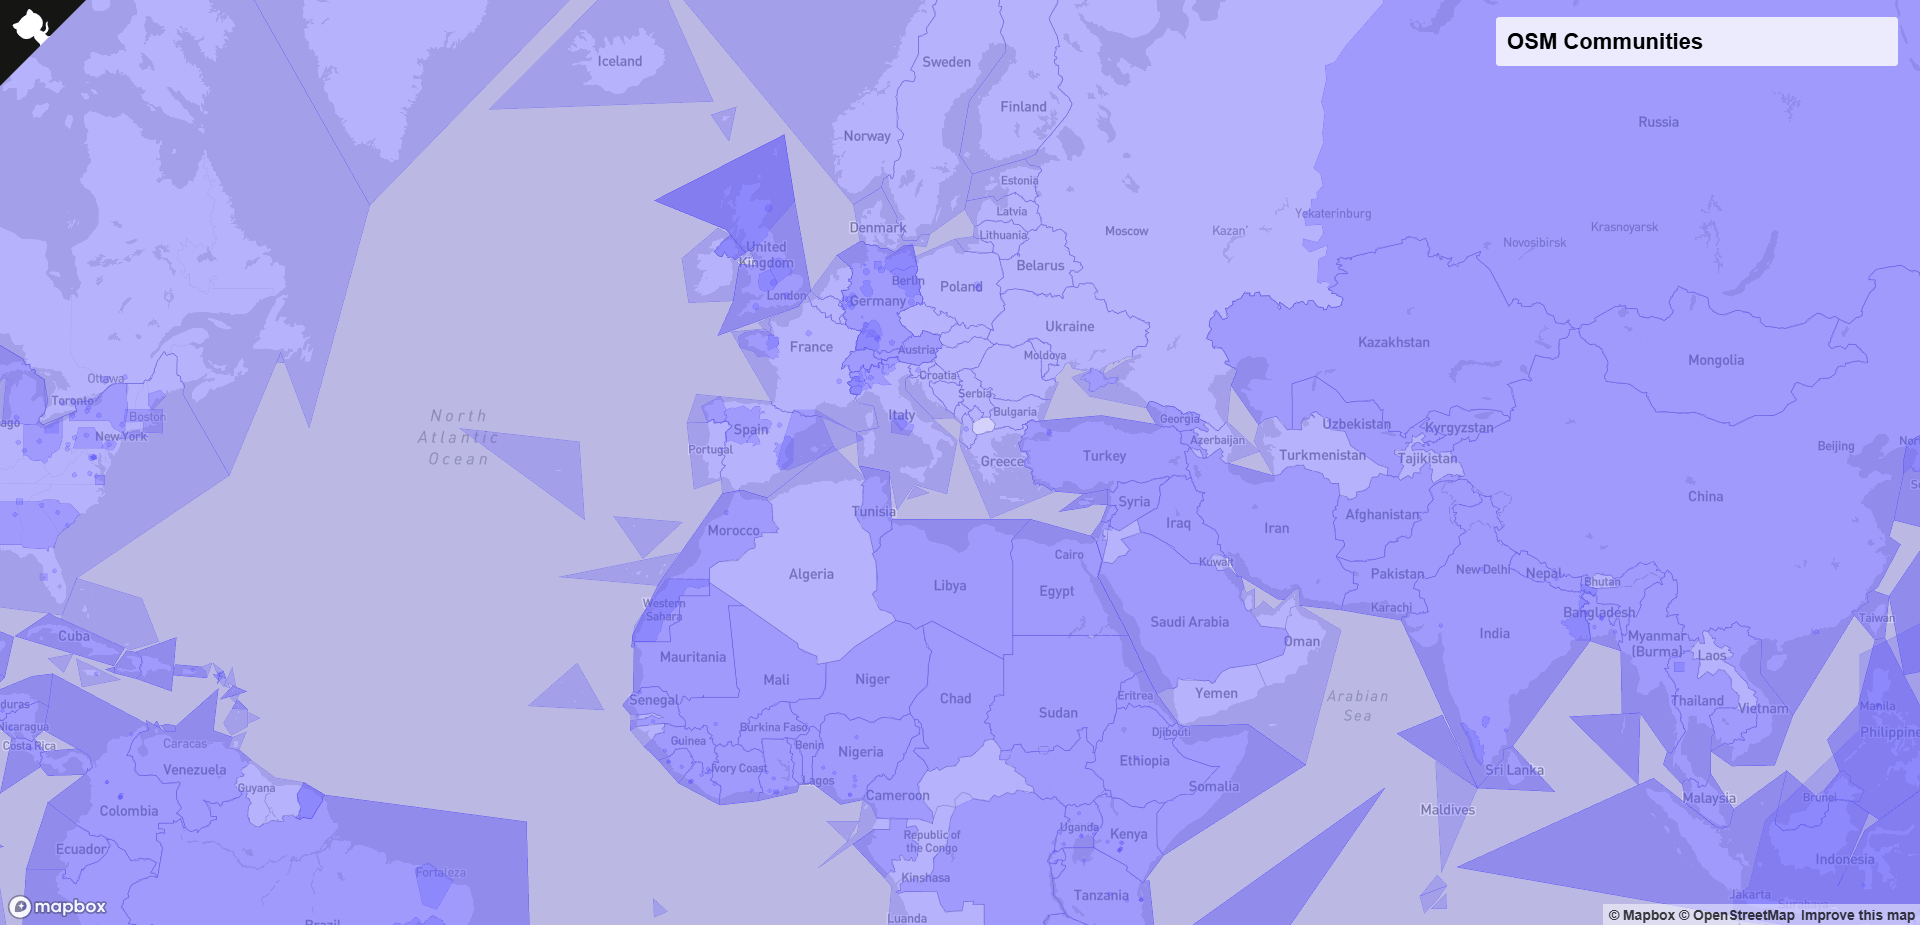
Who uses OpenStreetMap
Universities and Research Institutions
World Bank, UN, MSF, Red Cross
Many national, regional and municipal institutions
National Fire Brigade
Civil Protection Department
ISTAT, Revenue Agency, Carabinieri
Who uses OpenStreetMap

Who uses OpenStreetMap
What can be mapped
Transport infrastructures
Service structures
Points of interest
Natural elements
Land uses
...
What can be mapped
Adding
details
and
specifying characteristics
What can be mapped
Verifiable data
Another mapper
should be able to go to the same place
and collect the same data
("verify" the data entered)
What cannot be mapped
Private information
Historical elements no longer present
Non-stable or temporary elements
Data obtained from proprietary sources
Mapping styles
Armchair mapping or remote mapping
tracing information by
photointerpretation of the satellite imagery
On field survey
using a GPS to record positions
using smartphone apps (OsmAnd, MapSwipe, StreetComplete...)
using Field Papers to print a map of an area, draw on it and add notes, and load the paper back into OSM editors
OpenStreetMap data model
A geographical entity
is modelled by specifying
its geometry
and its attributes
OSM Geometries


NODE
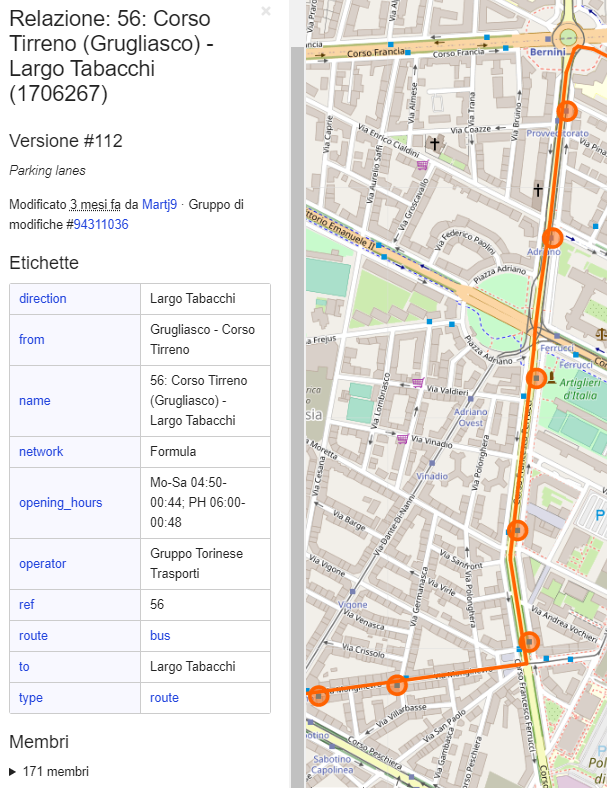
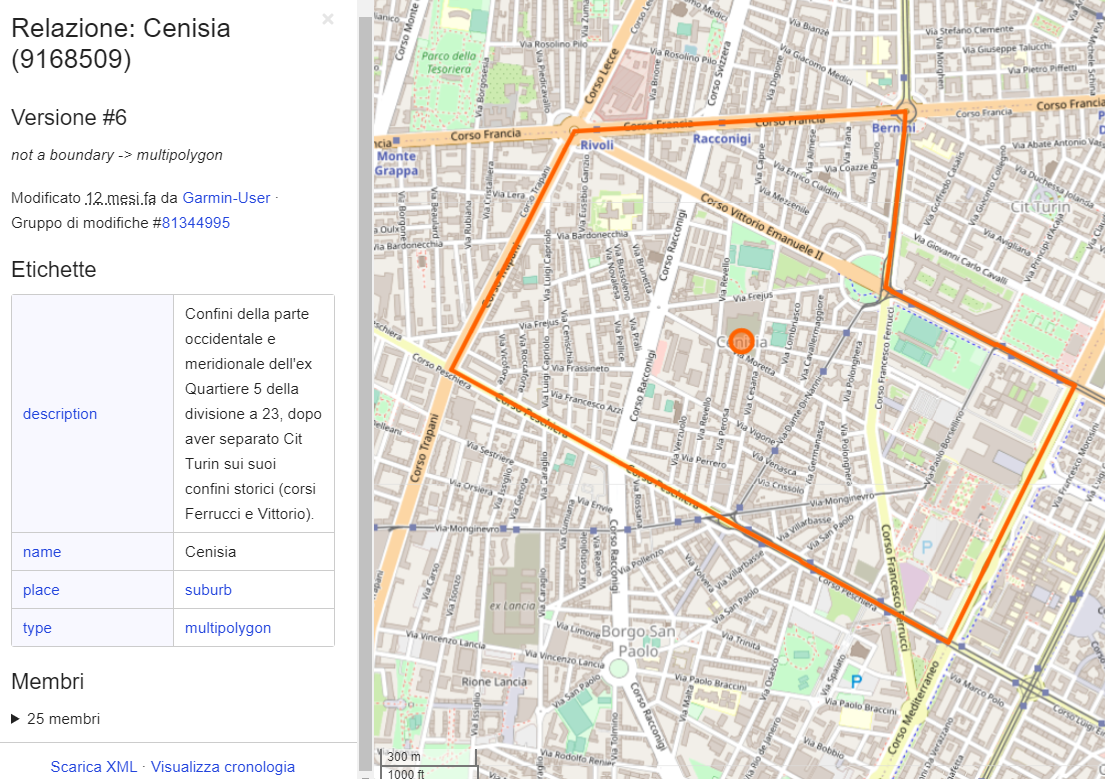
RELATION
WAY
Defined by latitude, longitude and ID
Ordered sequence of nodes
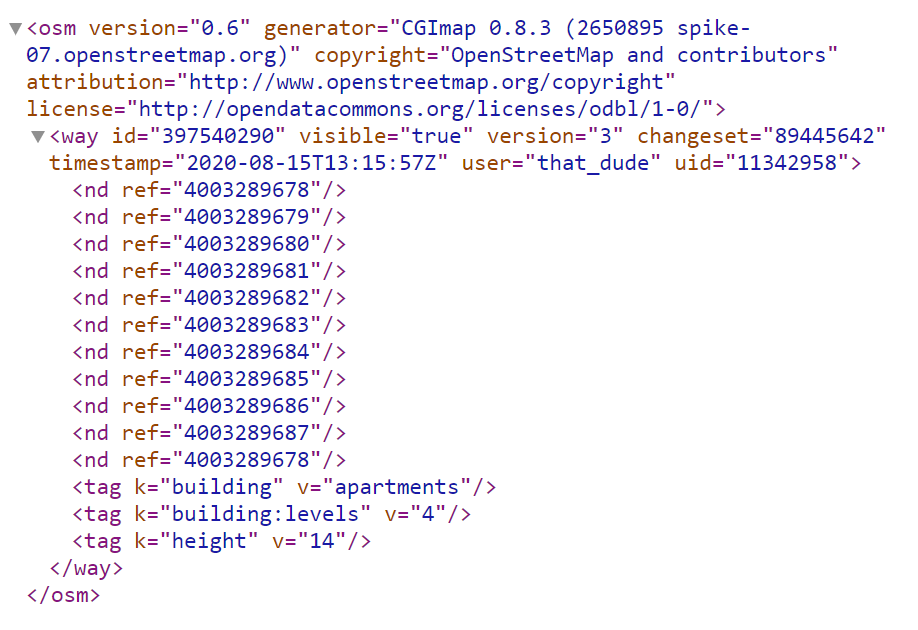
Ordered sequence of nodes where the first and last node are the same
Describe how different elements are
related to compose complex elements
+ TAG
CLOSED WAY
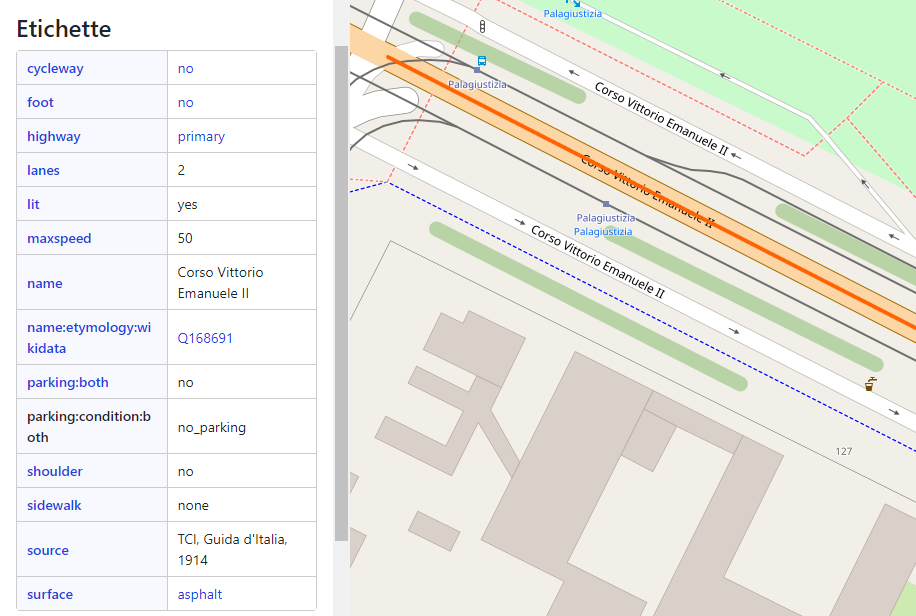
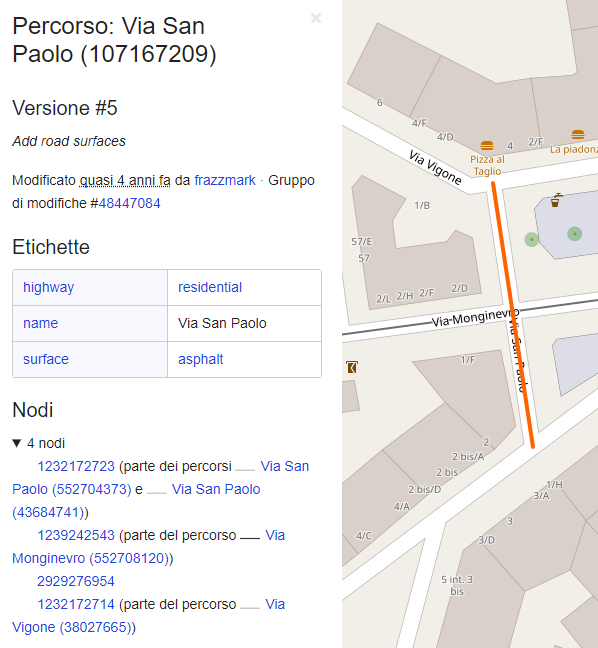
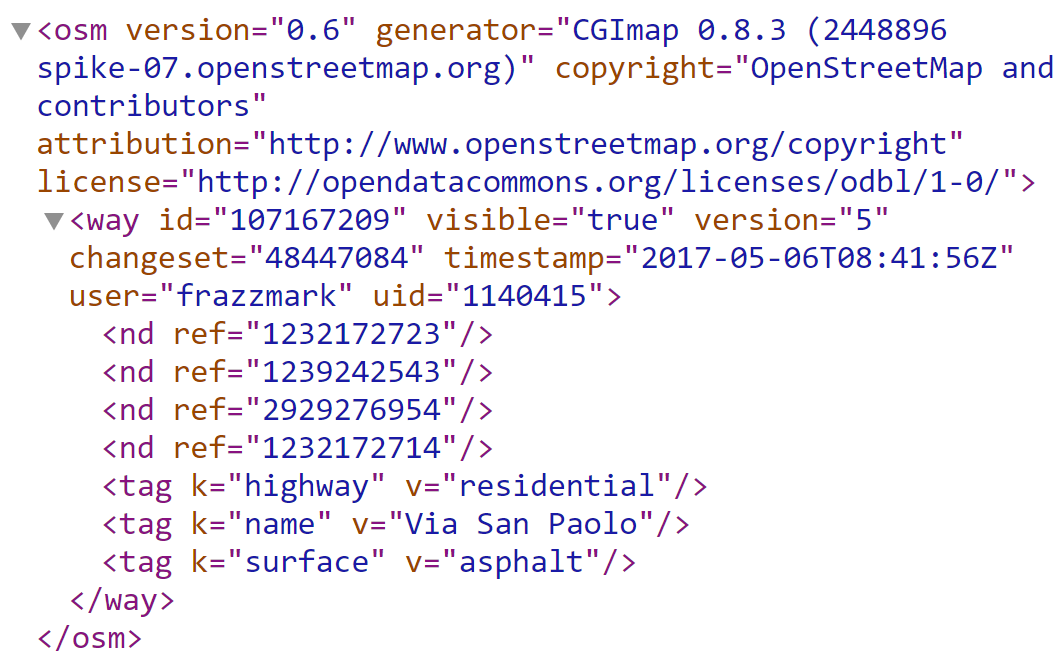
OSM Attributes
Node example


Way example
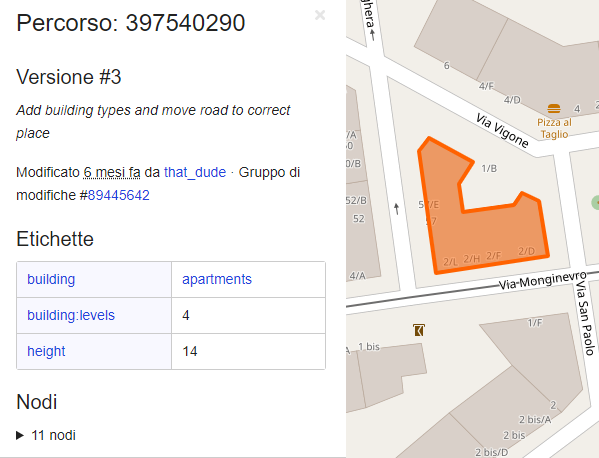
Closed way example
Relation example
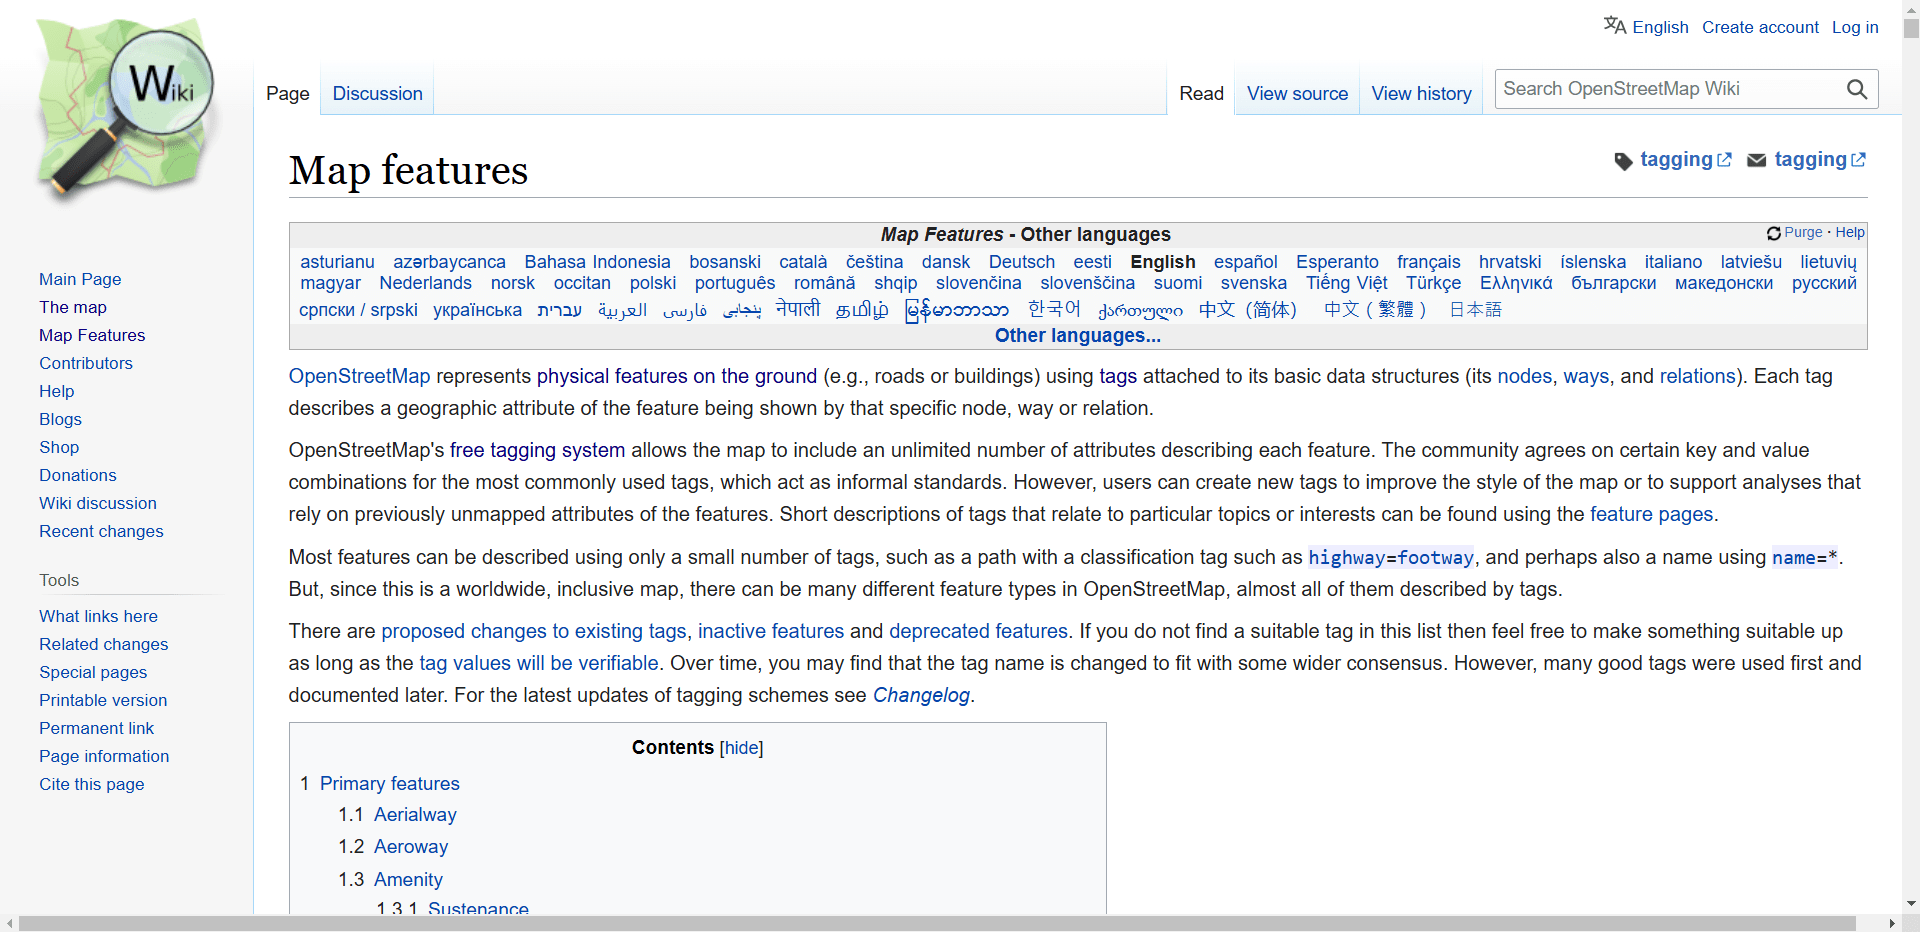
The answer is in the Wiki
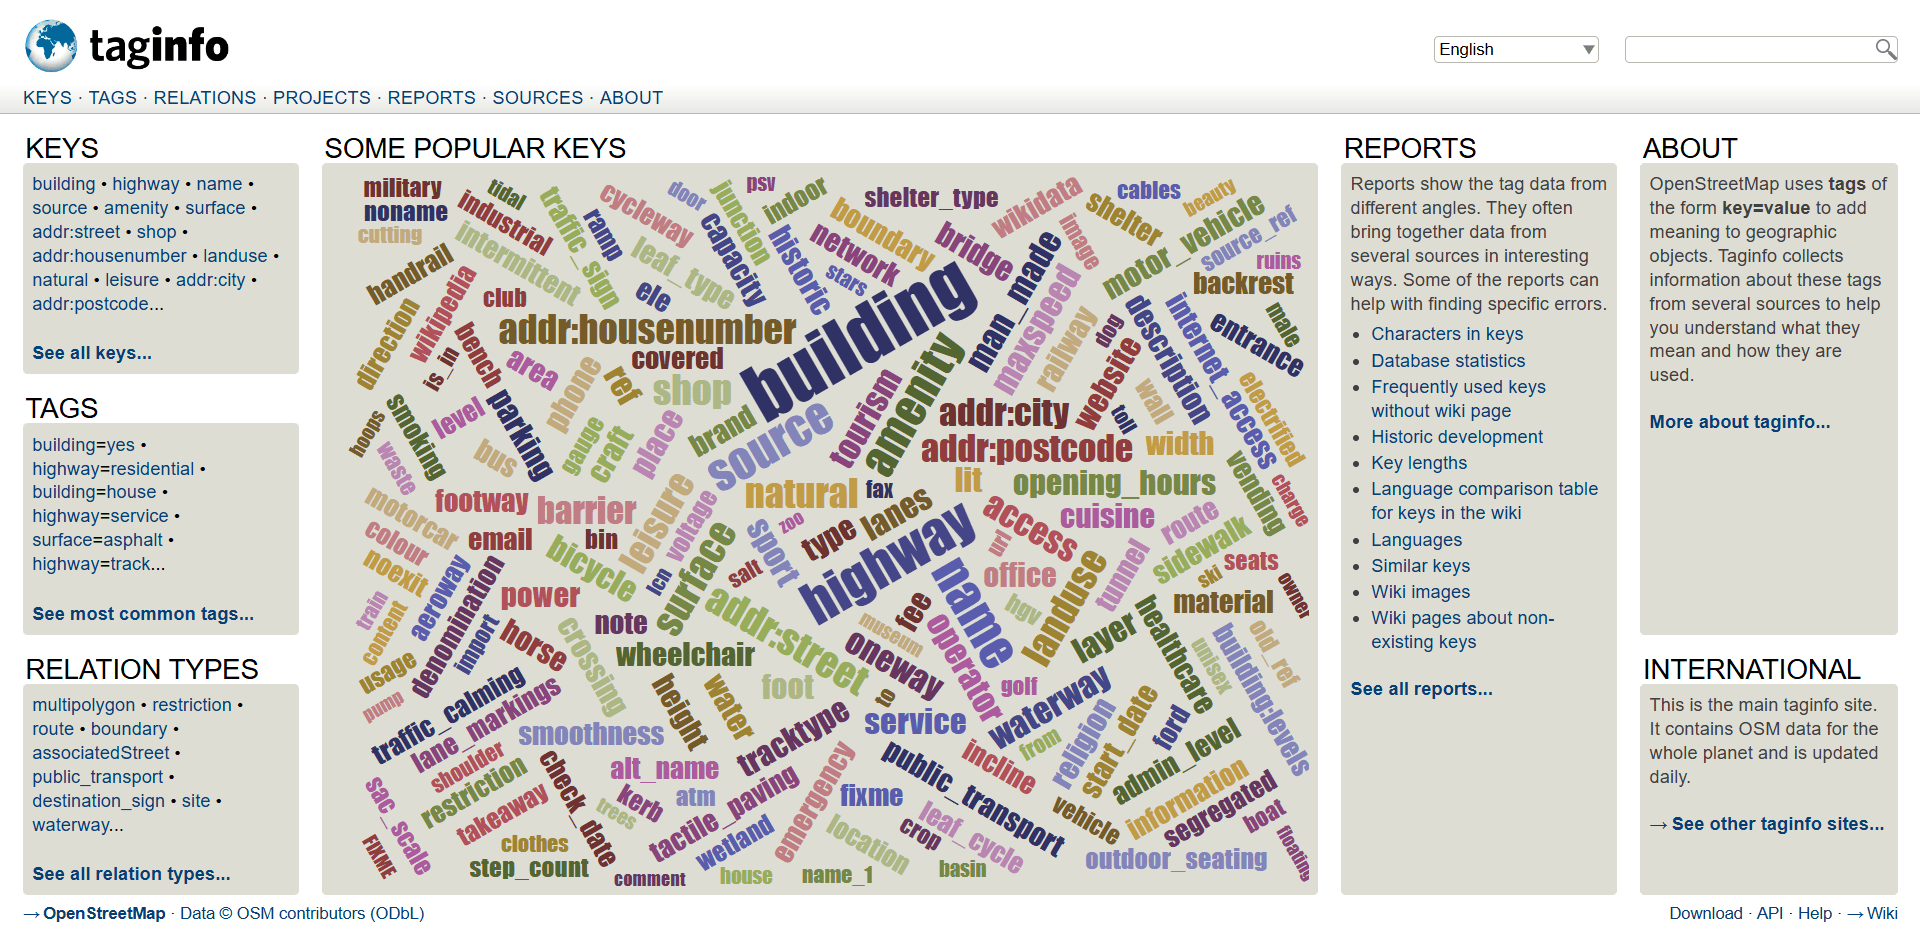
But also in TagInfo!
Why mapping indoor
Mapping the distribution of the interior spaces allows to:
- enable indoor navigation inside the Politecnico di Torino
- reuse the data for simulations on emergency planning and optimization of flow
- support the building maintenance and BIM (Building Information Model)
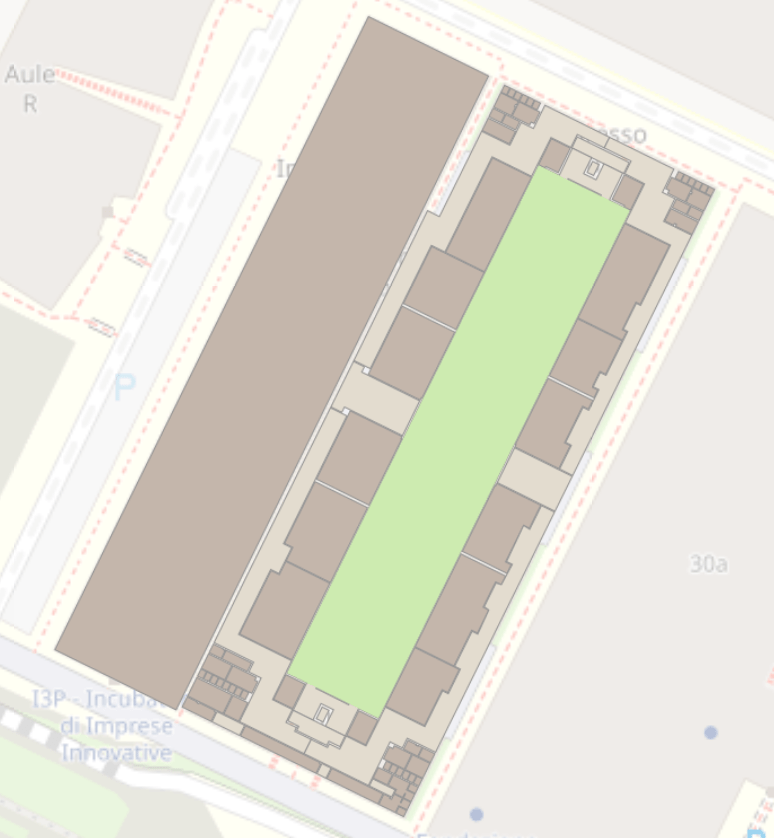
OSM indoor mapping
It allows to model indoor spaces
of public buildings:
- enabling indoor navigation/routing
- enabling floor plans and 3D maps visualization
OSM indoor mapping
Indoor tagging scheme
is designed to be compatible with
the 3D building tagging scheme
Indoor elements must be
inside the boundary
of a 3D building
OSM indoor mapping
To define the
total number of building levels
the building feature
must have the tags
min_level=* and max_level=*
OSM indoor mapping
building=yes
min_level=-1
max_level=1

OSM indoor mapping
Indoor elements
must be tagged with a
level=* tag
This indicates the floor level on which the element is located
OSM indoor mapping
amenity=pharmacy
level=1
shop=supermarket
level=0
amenity=parking
level=-1
OSM indoor mapping
Indoor elements can be modelled as
individual nodes (POIs)
adding the tag
level=*
and the tag
indoor=yes

OSM indoor mapping

Indoor elements can be modelled
as areas (closed ways or multi-polygons)
The individual areas share the same nodes
where they share a wall in real world
OSM indoor mapping
The value of the indoor key specifies the basic indoor element
indoor=room > indicates a conventional room with walls
The purpose of the room can be described by room=*
OSM indoor mapping
The value of the indoor key specifies the basic indoor element
indoor=area > indicates an area without walls
OSM indoor mapping
The value of the indoor key specifies the basic indoor element
indoor=corridor > an enclosed walkway area that connects rooms
OSM indoor mapping
Connections between rooms are mapped with door nodes
A door node is shared between the rooms which the door connects
indoor=door
door=yes
level=*
wheelchair=yes/no
access=yes/private
Doors which are entrances to or exits from the building are additionally tagged as entrance=*
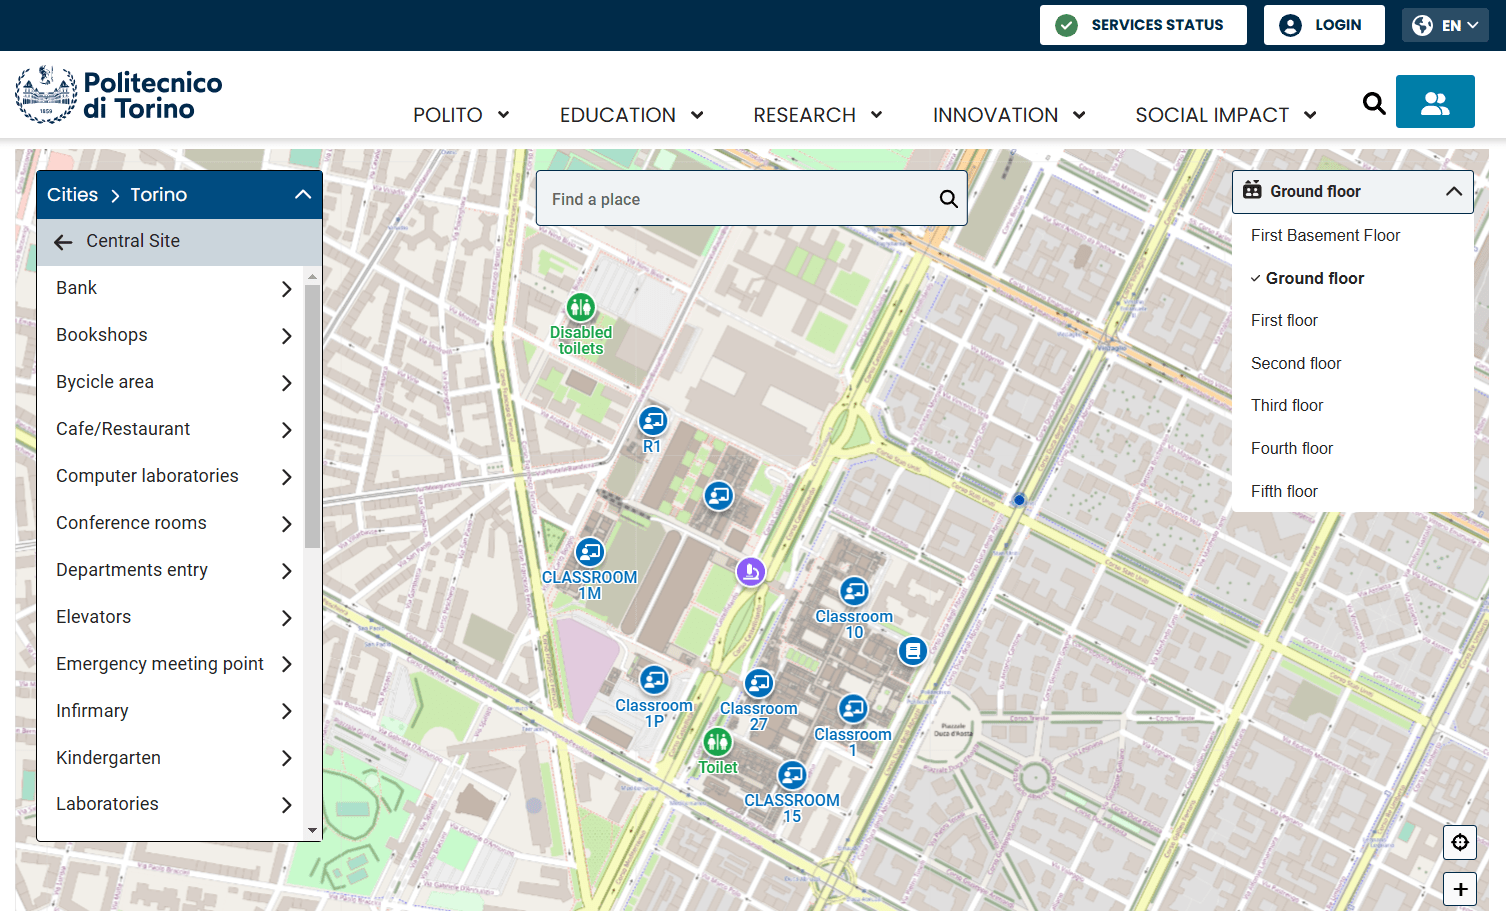
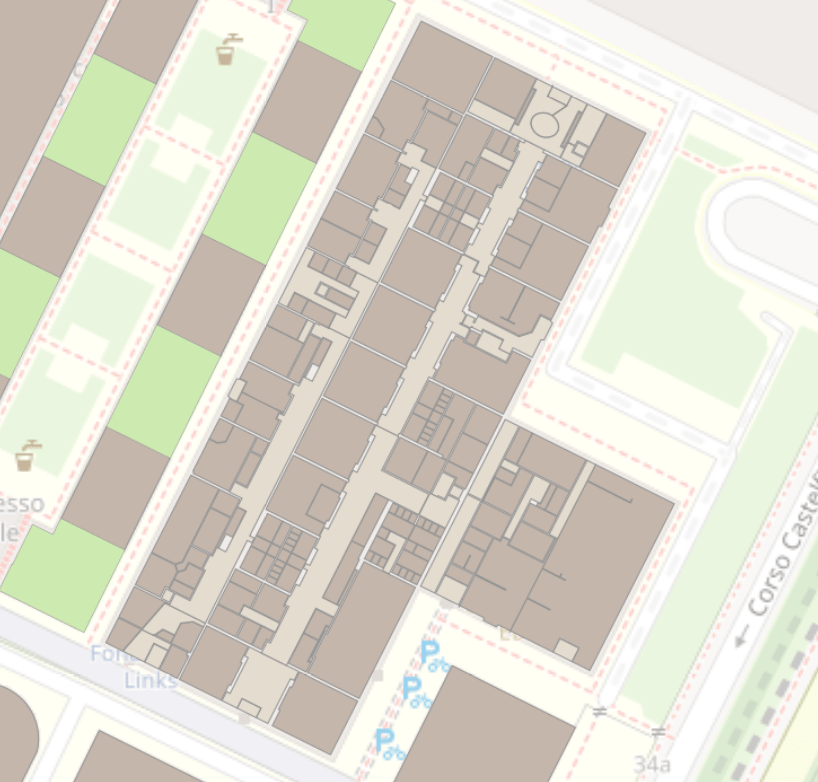
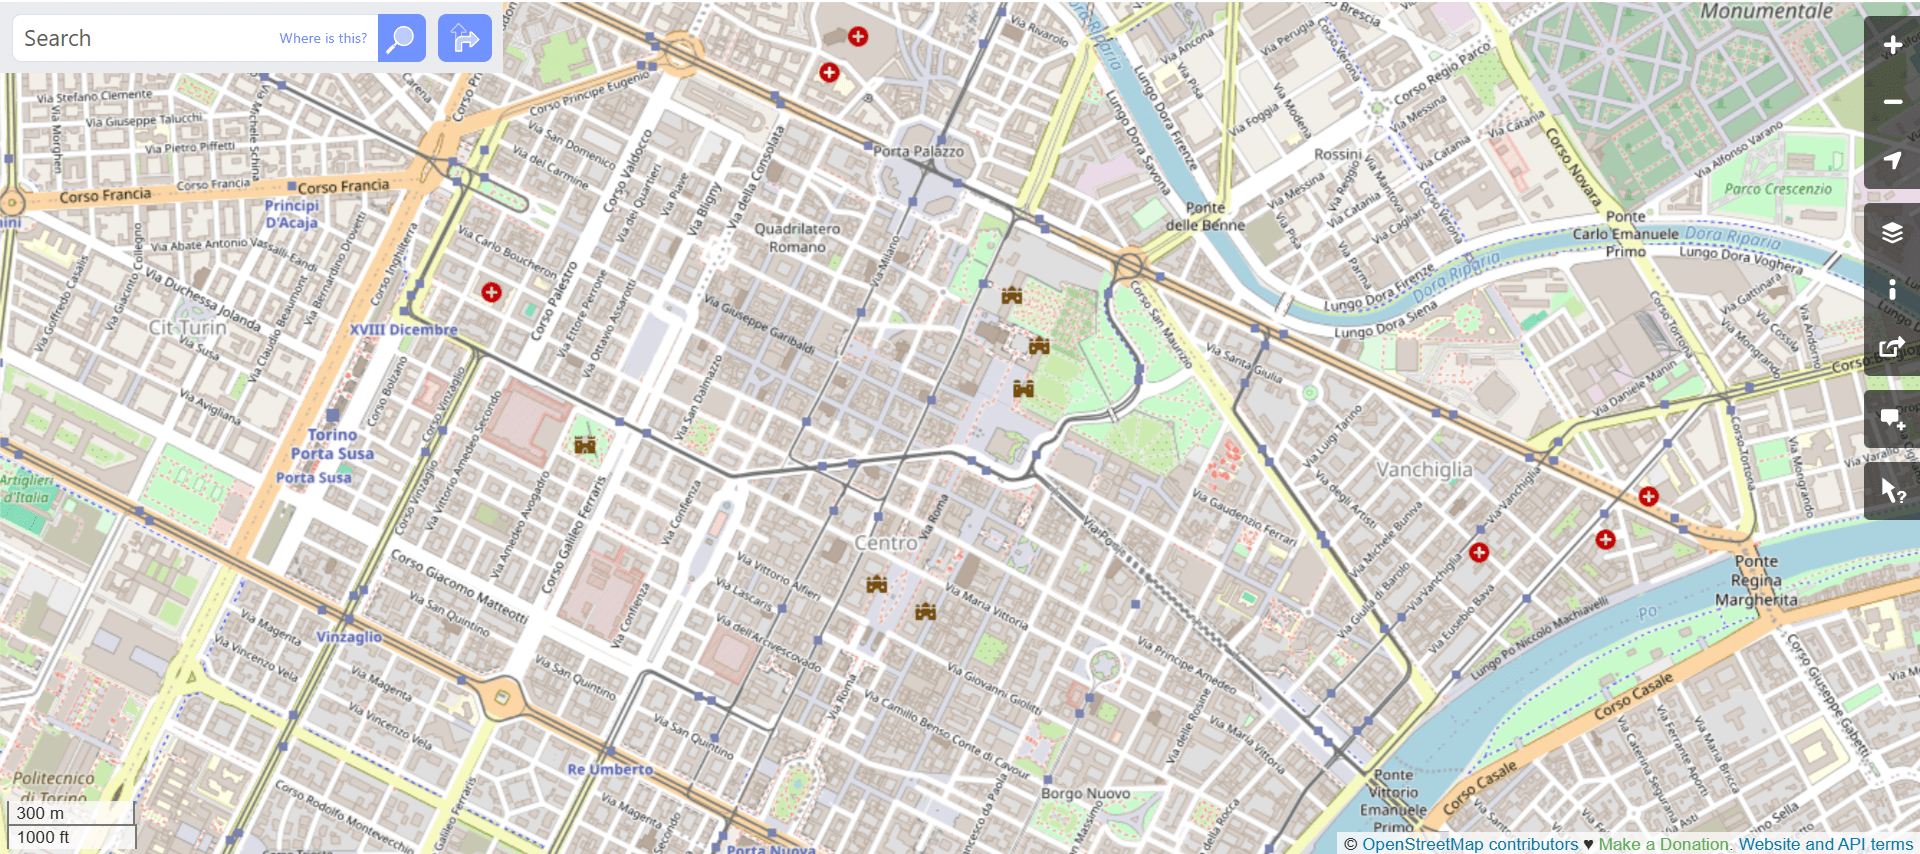
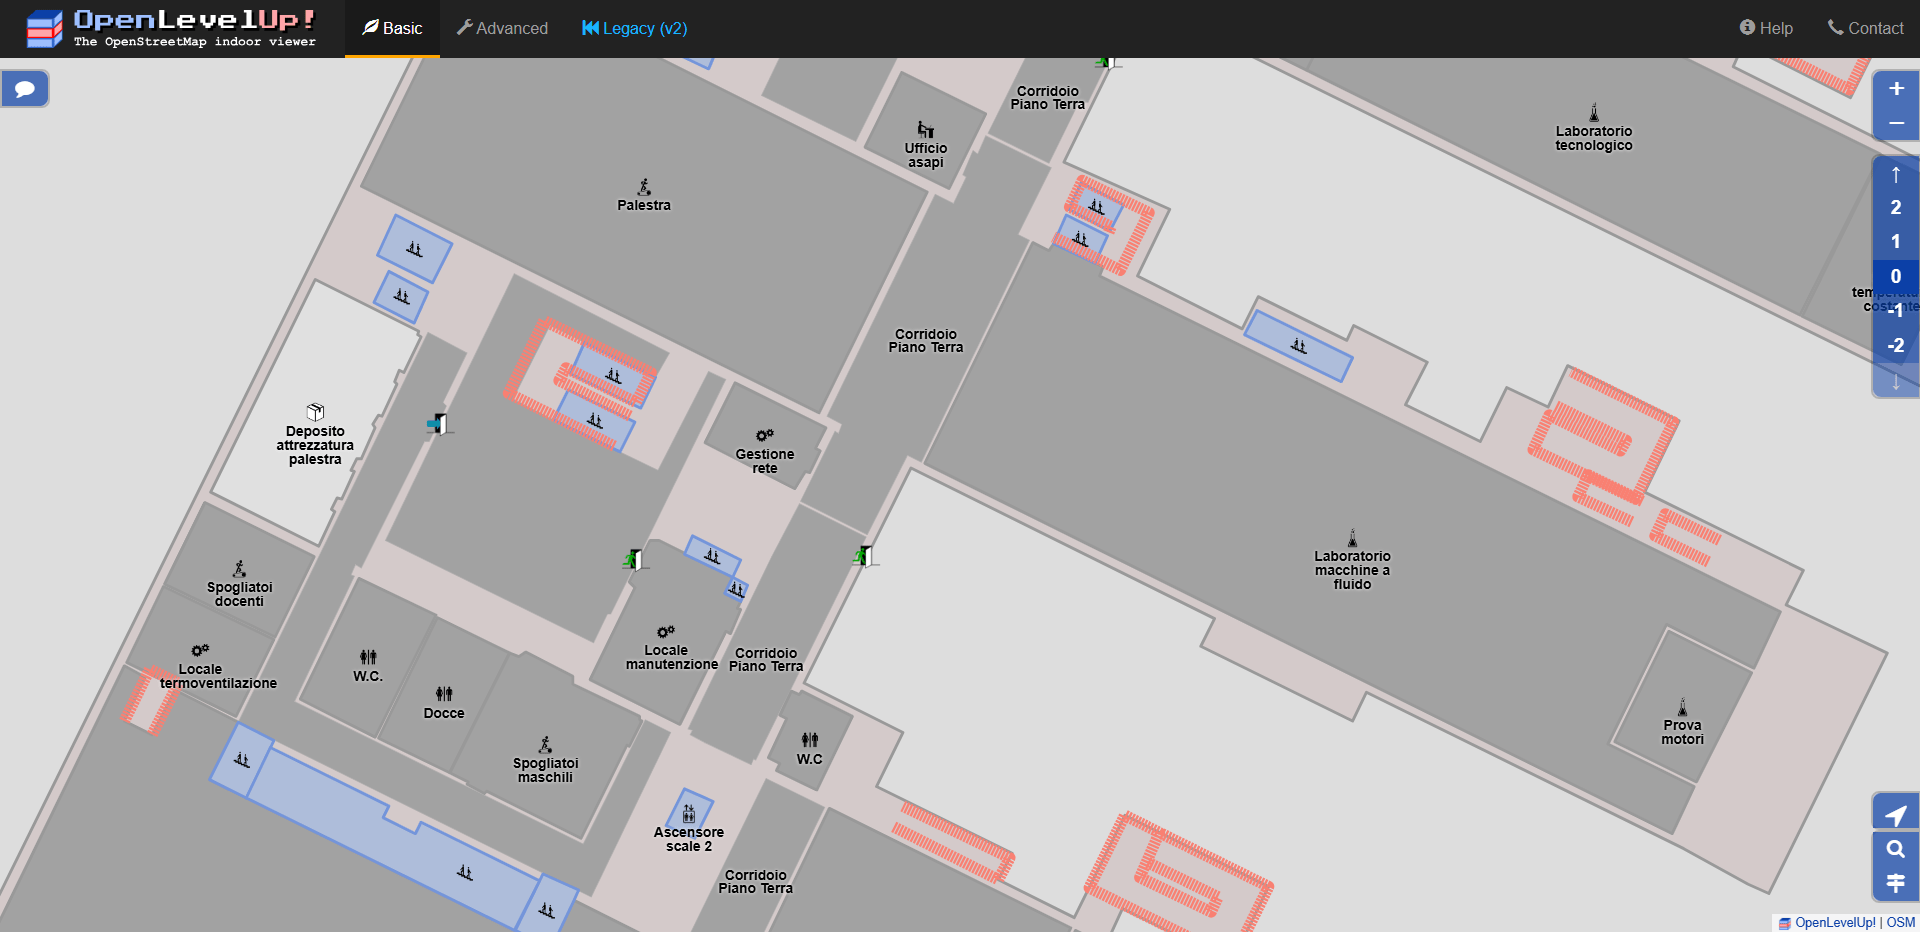
Viewing OSM indoor data
Indoor elements to map
Classrooms (including study rooms and laboratories)
level=*
indoor=room
room=classroom/laboratory
name=*
capacity=*
access=yes
wheelchair=yes/no

Area surrounded by walls and doors
Indoor elements to map
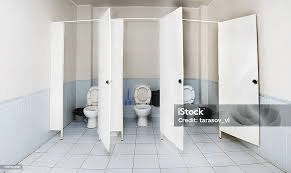
Toilets
level=*
indoor=room
amenity=toilets
access=yes
wheelchair=yes/no
Area where all toilets are collected
Indoor elements to map
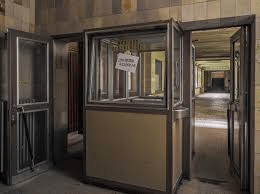
Reception
level=*
indoor=room
room=reception
access=private
Area surrounded by walls and doors
Storage local
level=*
indoor=room
room=storage
access=private
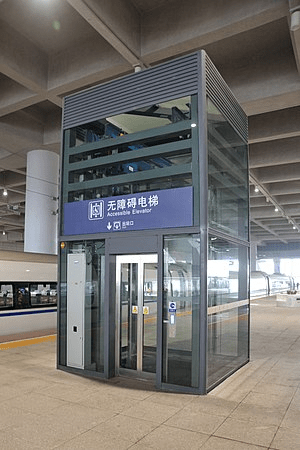
Indoor elements to map
Elevator
level=* {min:max}
indoor=room
highway=elevator
wheelchair=yes/no
Area surrounded by walls and doors
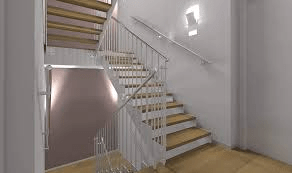
Stairs
level=* {min:max}
indoor=room
stairs=yes
Indoor elements to map
Corridor
level=*
indoor=corridor
Area surrounded by walls and doors

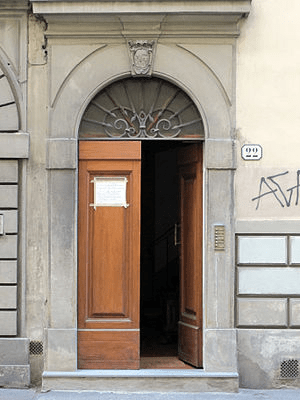
Indoor elements to map
Door
level=*
indoor=door
door=yes
wheelchair=yes/no
access=yes
Node shared between the rooms which the door connects
Indoor elements to map
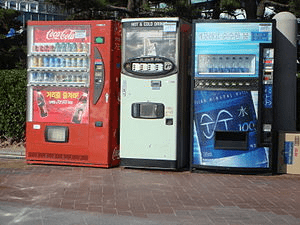
Vending machine
level=*
indoor=yes
vending_machine=yes
vending=food
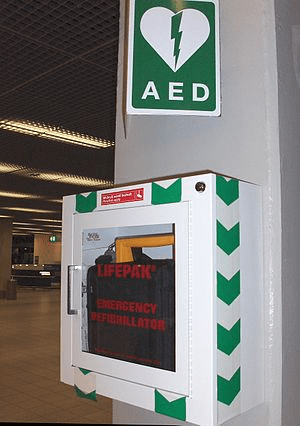
Defibrillator
level=*
indoor=yes
emergency=defibrillator
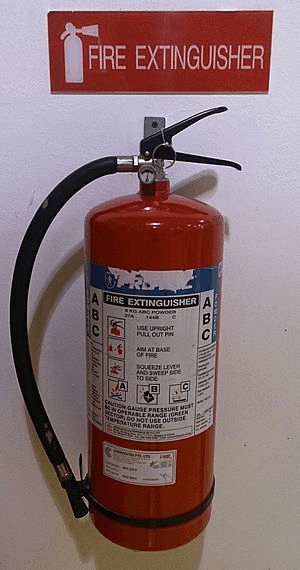
Fire extinguisher
level=*
indoor=yes
emergency=fire_extinguisher
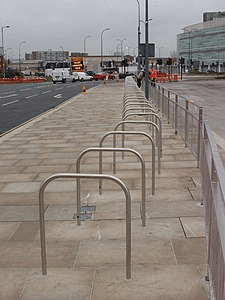
Outdoor elements to map
Bicycle parking
amenity=bicycle_parking
bicycle_parking=stands
Water point
amenity=drinking_water
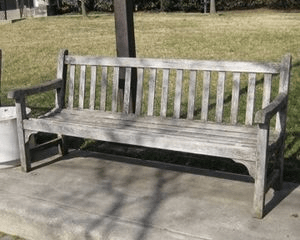
Bench
amenity=bench
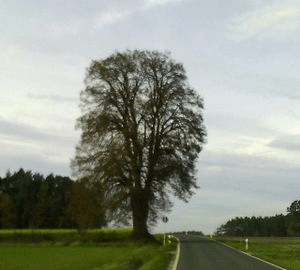
Tree
natural=tree
leaf_type=broadleaved
Emergency
emergency=assembly_point


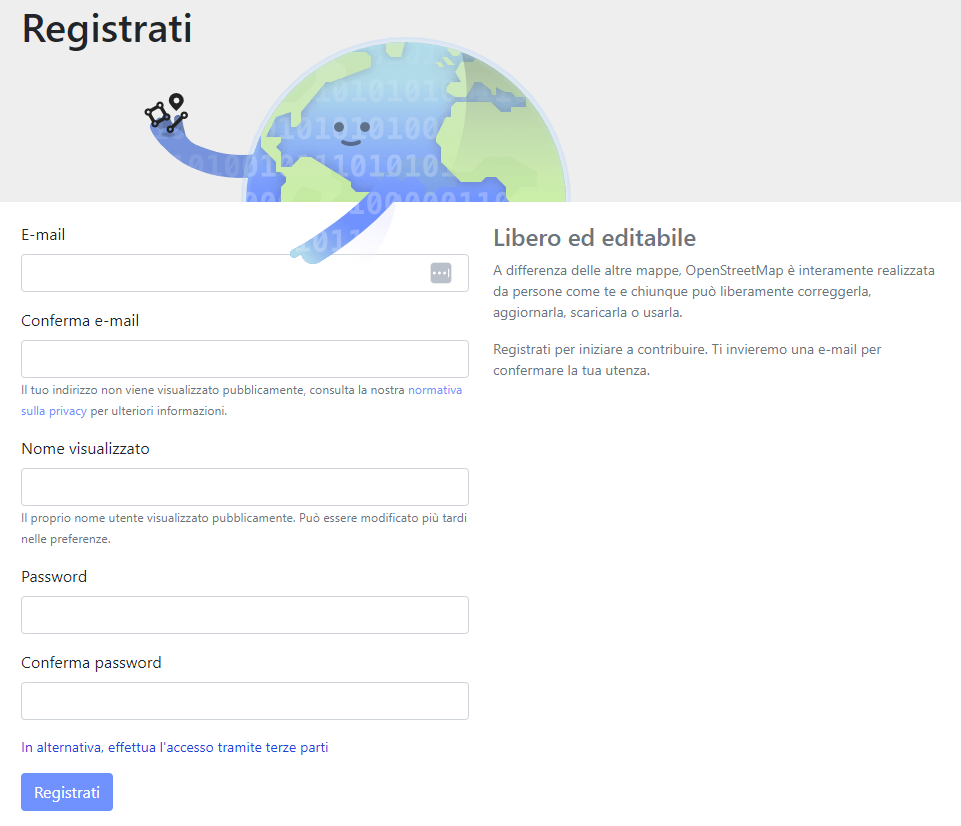
How to contribute
Creating an account on OpenStreetMap

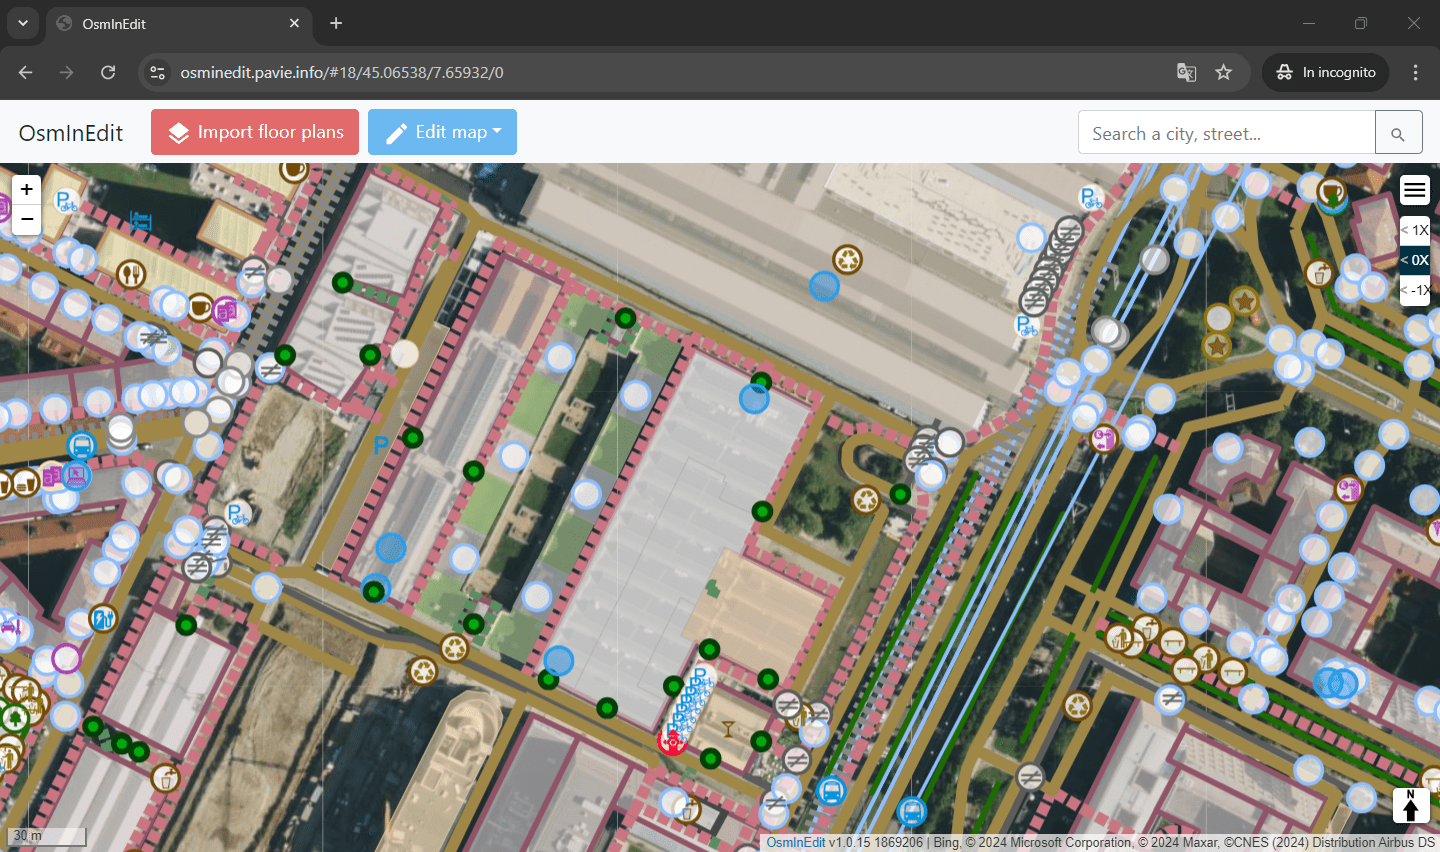
OsmInEdit
OsmInEdit (OpenStreetMap Indoor Editor)
is a web editor focused on indoor mapping
It offers indoor-dedicated functionalities
- Browse through all buildings and levels
- Import images building plans and custom TMS as background imagery

- Simple editing of indoor data: add or edit every single object in a particular level of a building with the support of dedicated presets: room, corridors, doors, furniture... and all common features (amenities, shops, offices...)
OsmInEdit
Add the Tile Map Service of the Politecnico floor plans as background in OsmInEdit
Click on the burger button and
scroll down to Custom imagery
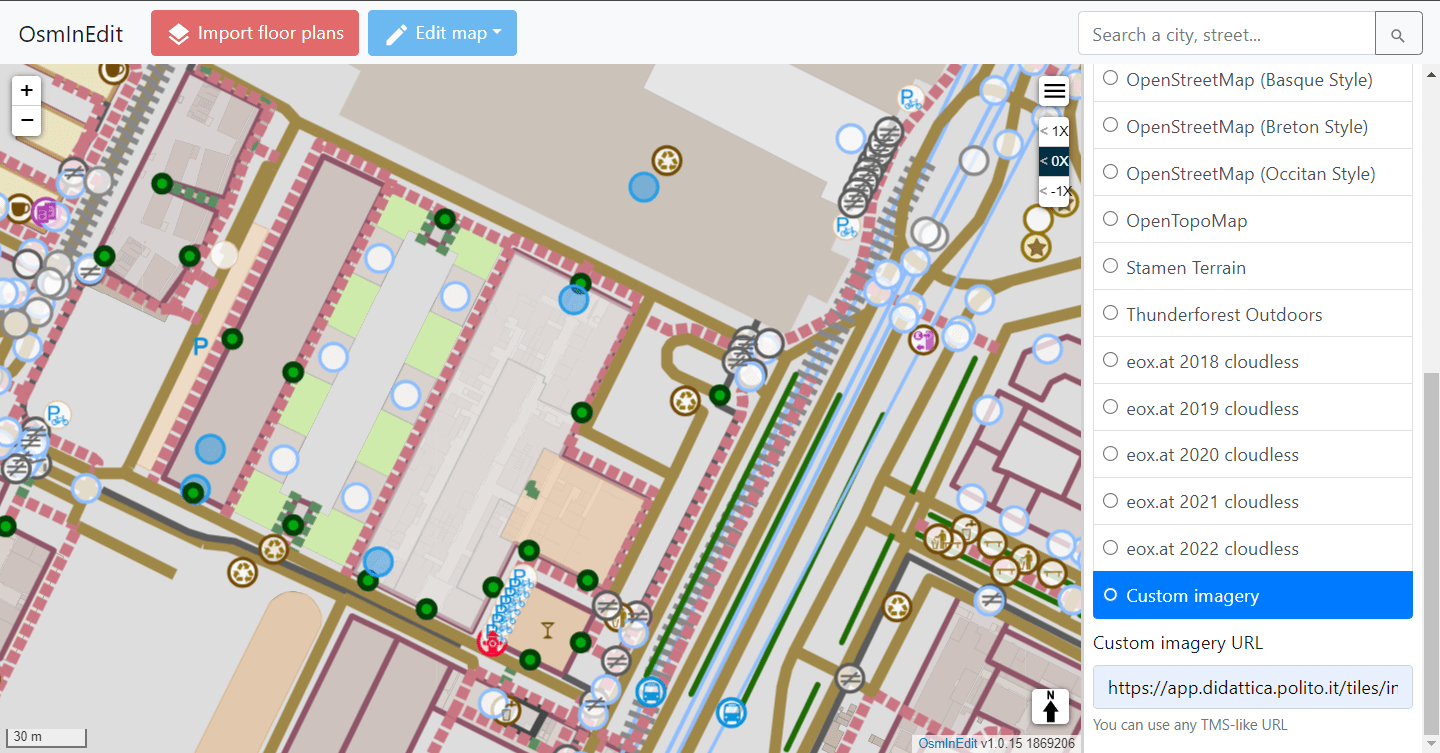
Insert the following URL for the ground floor plan
https://app.didattica.polito.it/tiles/int-light-xpte/{z}/{x}/{y}.png
Insert the following URL for the basement floor plan
https://app.didattica.polito.it/tiles/int-light-xs01/{z}/{x}/{y}.png
OsmInEdit
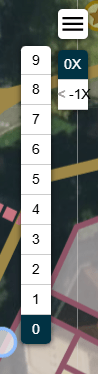
Add a room
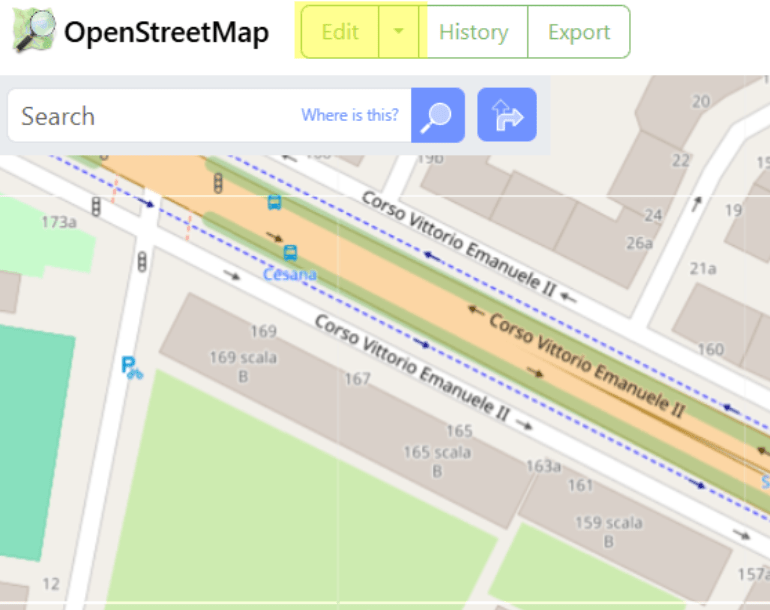
- Center the map on the Politecnico area
- Explore the data filter by floor number (on the right) and choose the floor level that you want to edit (e.g. 0)
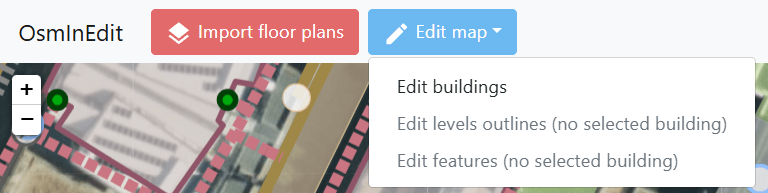
- Click on Edit Map button and choose Edit buildings
OsmInEdit
Add a room
1. Select a building by clicking on it
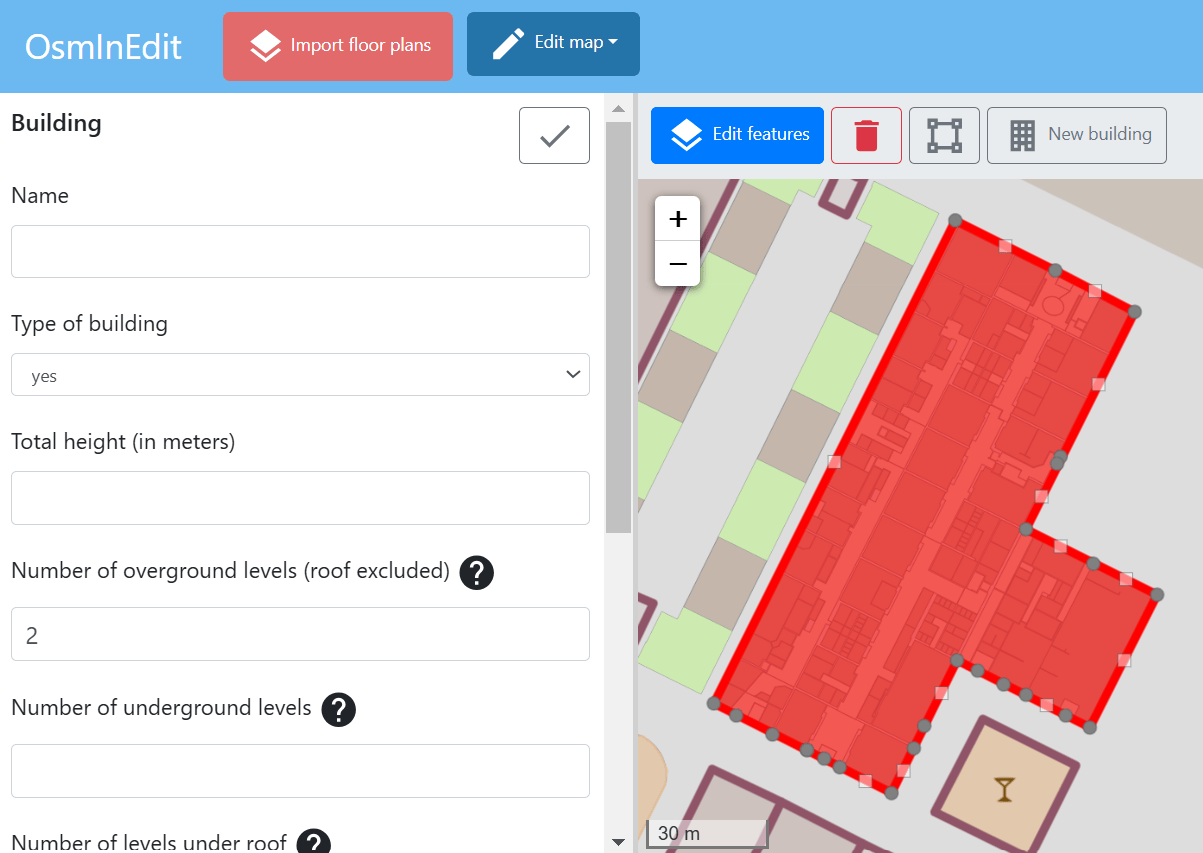
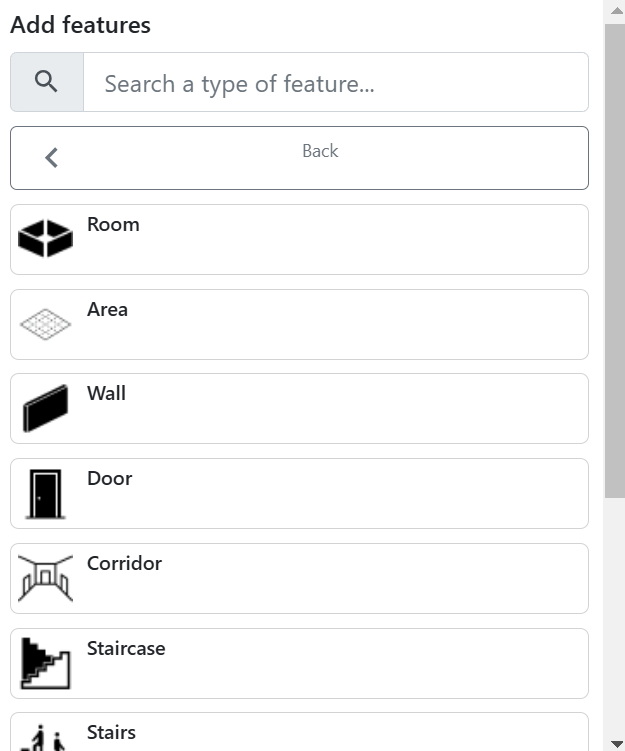
2. Click on Edit features button
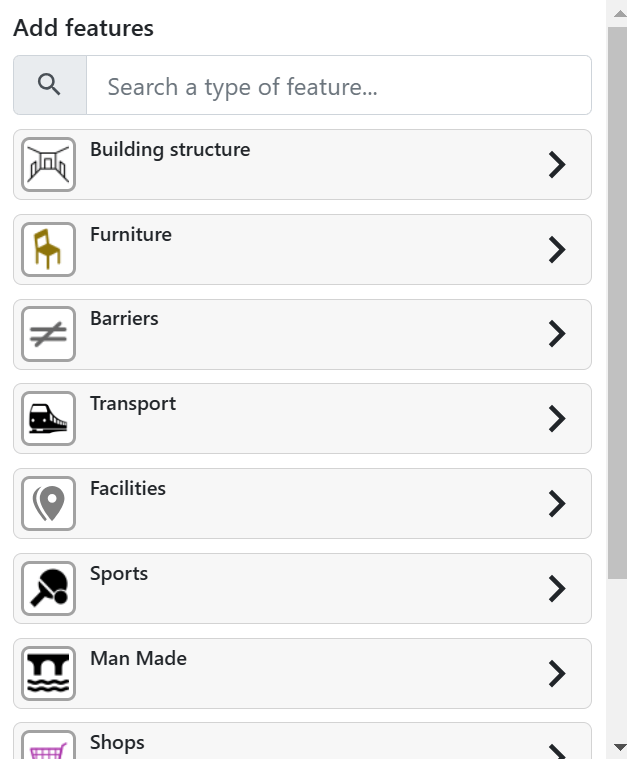
3. In the left panel,
search for the
element that you
want to add:
Building structure
--> Room
OsmInEdit
Add a room
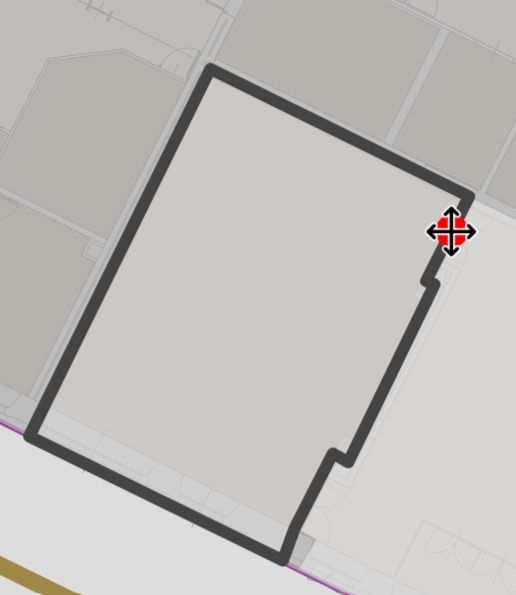
4. Draw the outline of the
classroom
5. Pay attention to snap
the vertices on
building walls and
on existing indoor areas
(as corridor)
OsmInEdit
Add a room
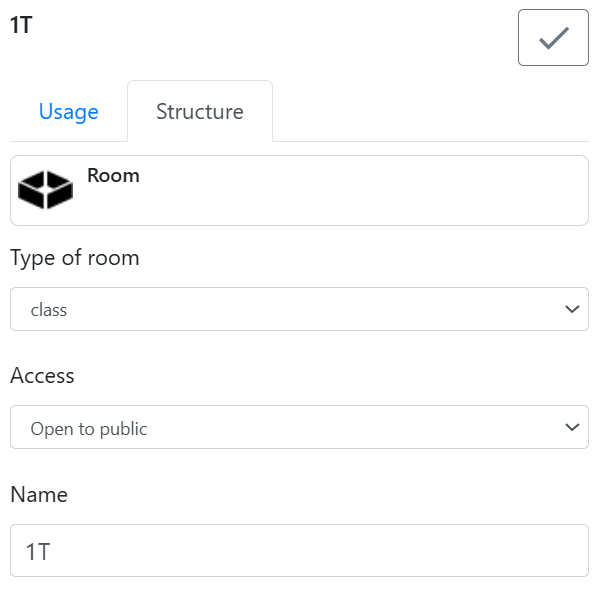
6. In the left panel set the fields
Type of room as class
Access as Open to public
Name as the name of the classroom
OsmInEdit
Add a room
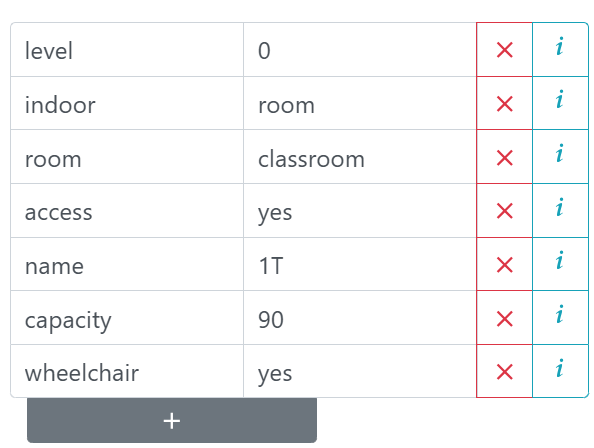
6. Scroll down to see the list of the tags
and add or adjust values
add capacity key and set the value
add wheelchair key and set the value
adjust the value from class to classroom
7. Click on Done button
on the top of the panel

OsmInEdit
Save and upload your edits
It is possible to save multiple objects at once, but for today we will save one object at a time
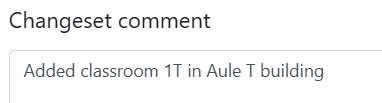
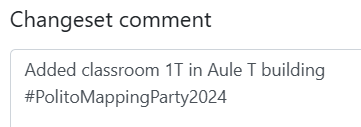
8. Click on Save button
9. Write a changeset comment
to describe the
editing operation carried out

OsmInEdit
Save and upload your edits
10. At the end of the comment add the
hashtag #PolitoMappingParty2024
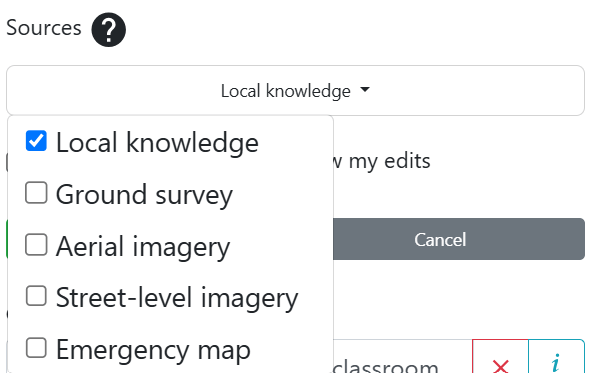
11. Set the Sources as
Local knowledge
12. Send changes

OsmInEdit
Add door
1. Select a building by clicking on it
2. Click on Edit features button
3. In the left panel, search for the
element that you want to add:
Building structure --> Door
4. Pay attention to snap the point
on room border
5. Set relevant tags
OsmInEdit
Add other elements
Facilities --> Facilities --> Toilets/Restrooms
Building structure --> Room
Building structure --> Room
Building structure --> Elevator
Building structure --> Staircase
Shops --> Vending machine
Facilities --> Emergency --> Fire extinguisher
Facilities --> Emergency --> Automatic defibrillator
Transport --> Bicycle --> Parking
Facilities --> Facilities --> Drinking water
Facilities --> Facilities --> Bench
Toilets
Reception
Storage local
Elevator
Stairs
Vending machine
Fire extinguisher
Defibrillator
Bicycle parking
Water point
Bench
How to contribute
ID Editor
ID Editor
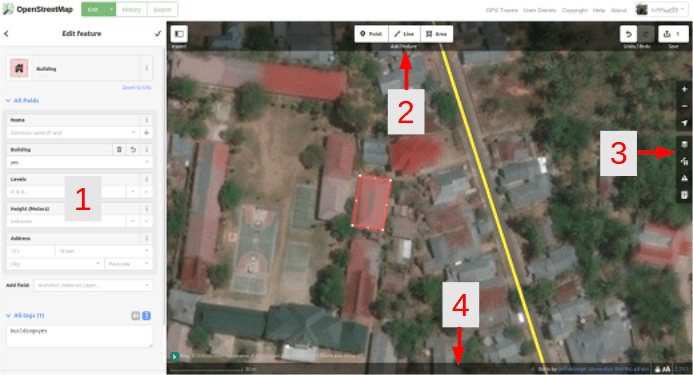
1. Edit Feature Panel
This panel shows tags from the object selected on the map
You can add or edit tags from this panel
ID Editor
2.Tools
This panel shows basic editing tools:
Draw point (node)
Draw line (way)
Draw shape (polygon)
Undo
Redo
Save changes
ID Editor
3. Map panel
Shows various configuration functions:
Zoom In/Out
Go to your location
Configure background layer
Map Data
Map Data
Issues
Open Help Menu
ID Editor
4. Information panel
Shows various information, such as the scale bar and which users have contributed to the area
ID Editor
Configuring the background layer
- You can change the background layer based on your desired tile provider
- You can add your own map tiles by clicking on Custom
- To change the appearance of the imagery click Display Options
- If there is imagery offset, you can correct the imagery offset by clicking Adjust imagery offset
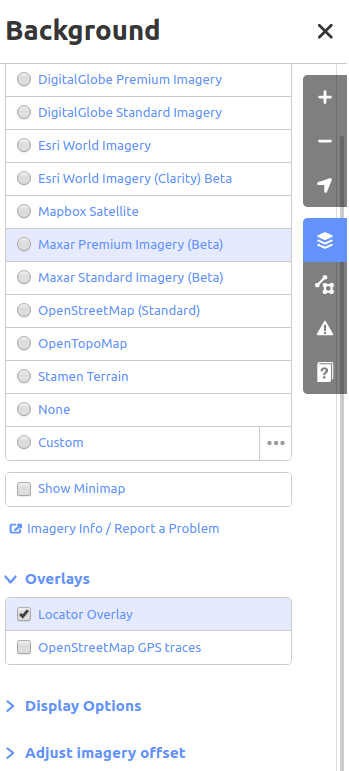
1
2
3
4
ID Editor
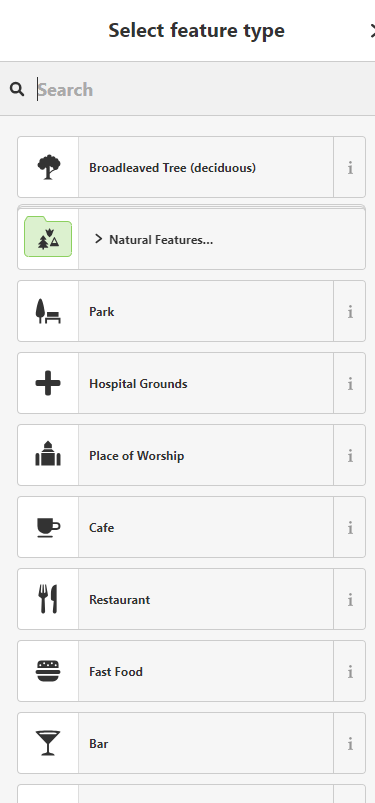
Drawing elements
To add a new object, click on the Point/Line/Area button and on the map trace the shape of the object that you want to add
Once an object is added, the left panel will show a form where you can select attributes (tags)
You can use the forms (guided mode) to fill detail information about your object
ID Editor
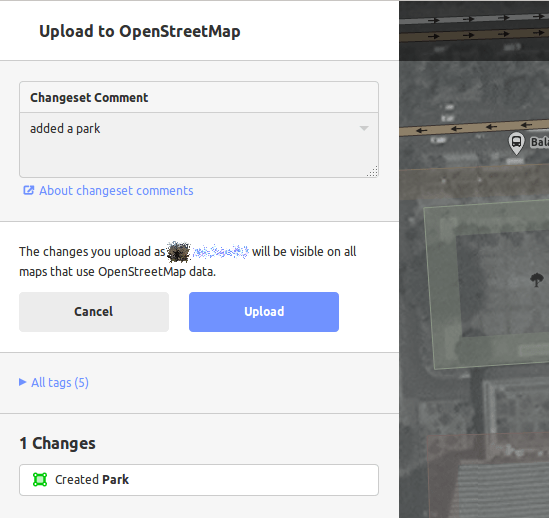
Saving changes
When (and if) you want to save your edits to OpenStreetMap,
click the Save button
The panel on the left will show the upload panel
Add a short description what you changed and why and then click Upload
Print MappingPartyPolito_Nov2024
By Emere Arco
Print MappingPartyPolito_Nov2024
OpenStreetMap - Mapping Party - Unight 2023


